
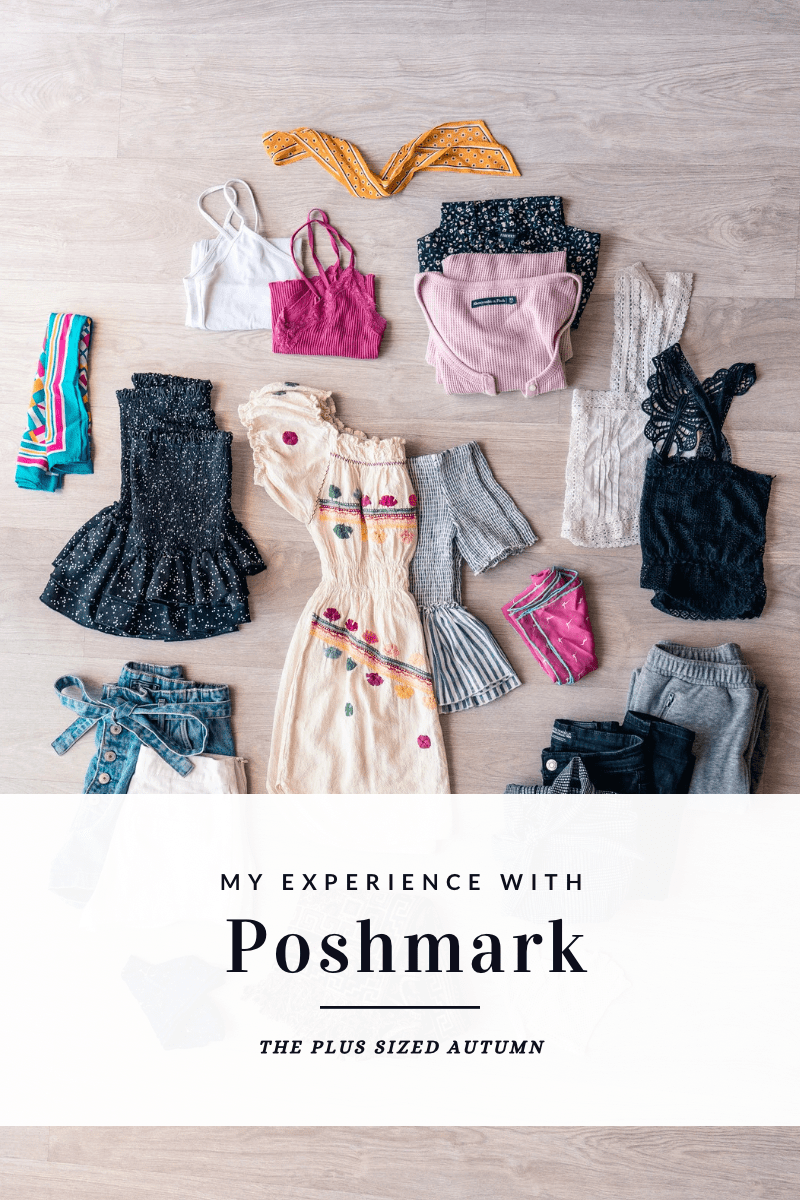
I like to explain Poshmark as an online resale/consignment platform. Users can buy and sell clothing, shoes, accessories, and more. Poshmark takes a commission of 20% of the sale price, or a flat fee of $2.95 for items selling for less than $15. They offer buyer protection for all purchases and what they call “Posh Authenticate” for purchases over $500. When a purchase is made, Poshmark handles the transaction details and provides the seller with a prepaid shipping label.
If you’re new to Poshmark, sign up with code QUEENHULLABALOO to get a $10 Posh Credit, and keep scrolling for my quick guide on creating a sales listing to wow buyers!
I’ve used on and off Poshmark for years now- since about 2012- and I like it a lot more than trying to use Facebook Marketplace, ThreadUp, or Mercari. I still take things to local consignment and resale shops as well, but I’ve found that I get a higher payout from Poshmark than I do anywhere else. I get to set my own prices, and it’s up to me if I want to make or accept offers on items I’m selling.
Before posting a listing, ask yourself, “Would I buy this based on the photos and description I’m seeing?”
To create a sales listing in my Poshmark “closet,” I start with taking photos of what I’m hoping to sell. Using my phone’s camera, I make sure my photos are well lit, clear, and show the item’s condition, tags, and call out any wear/damage and best features. I prefer to take photos separately and load them in later, but there is an option to take photos within the app if you find that easier.
If you’ve made it this far, thank you so much for reading! Here are my best tips for taking photos that will sell your items:
- Model your clothes, if you’re able and comfortable doing so. I notice a big difference in photo quality and my sales when I do this versus when I don’t.
- Make sure photos are well lit, and preferably don’t have shadows on the item itself.
- If possible, use a neutral background. This can be a wall, shower curtain, or even a sheet draped over your door!
- If you’re modeling, have someone else take your photos for you or use a timer and a tripod. I’ve even propped my phone on a shelf when I was in a pinch. Another method instead of the timer is to record a video and screenshot at various strategic points!
- Make it a point to include photos of tags. Brand tags, size tags, fabric content tags, and washing instruction tags are all important to buyers. If your item has store tags still attached, include a photo of those as well to make your item more visible in search results.
- Before posting a listing, ask yourself, “Would I buy this item based on the photos and description I’m seeing?”
When I’m done with photos and I’ve done a quality check, I open the Poshmark app and go to the Sell tab. I tap in the bottom left corner to open my camera roll, and upload as many pictures per item as will fit. There is a newer option to include one video per listing, but I have only done that once. Once I have chosen my photos, framed them properly, and selected my cover photo for the listing, I continue by writing an accurate, clear, and descriptive headline. For example, if I was listing a new pair of pink linen shorts from Lane Bryant, I would write something similar to “NWT Pink Linen Lane Bryant Shorts” (if you’re unfamiliar with the NWT acronym, it means New With Tags).
From there, I make sure I have a thorough description and make sure to call out any flaws and/or special features with the item. For my applicable listings, I always try to include the line “This item has been freshly laundered in a gentle detergent and ships from a smoke free, pet friendly home.” I make sure to do this because I don’t want a buyer to have a reaction to pet dander or to lose a sale because a buyer is worried about smells or detergent residue.
When I get to the next part, I make sure to chose the appropriate category for my item. Poshmark includes a lot of subcategories; for dresses you’ll have the option to go into “asymmetrical,” “backless,” “maxi,” “midi,” etc., but I usually ignore those. You don’t have to be nitpicky, your item will get the most visibility if you keep it broad.
After that, input the size. Things like brand, color, and style tags are optional but I highly recommend using those as well! When you’re setting a price, input the original price (I usually look it up or guess if I don’t remember) and the app will suggest a price range for you. You don’t have to set your sale price within that range, but it does give you that because that’s what other items like yours are selling for.
I can definitely tell the difference in my sales when I don’t put as much effort into my listings. There are always types of items that aren’t in demand and don’t sell as well, but that’s true no matter where you’re selling.
If you have any questions I didn’t answer in this post, send me a message here on my blog or over on Instagram! I’m always happy to help and I love getting content requests and suggestions.


Leave a comment